Last Updated on 2022-01-16 by OneJar
The new version of GitBook official web service (I called it GitBook V2 for short) has changed its product policy to be profit-oriented and not open source anymore. The important point is GitBook V2 does not offer unlimited books anymore. Since that, I tried to find another solution to publish GitBook.
Mostly I use GitBook to record some notes for sharing and reading. Additional fees or complex operations are not preferred.
In general, I prefer a solution: free, unlimited books, publishing automatically after revising, and easy configuration.
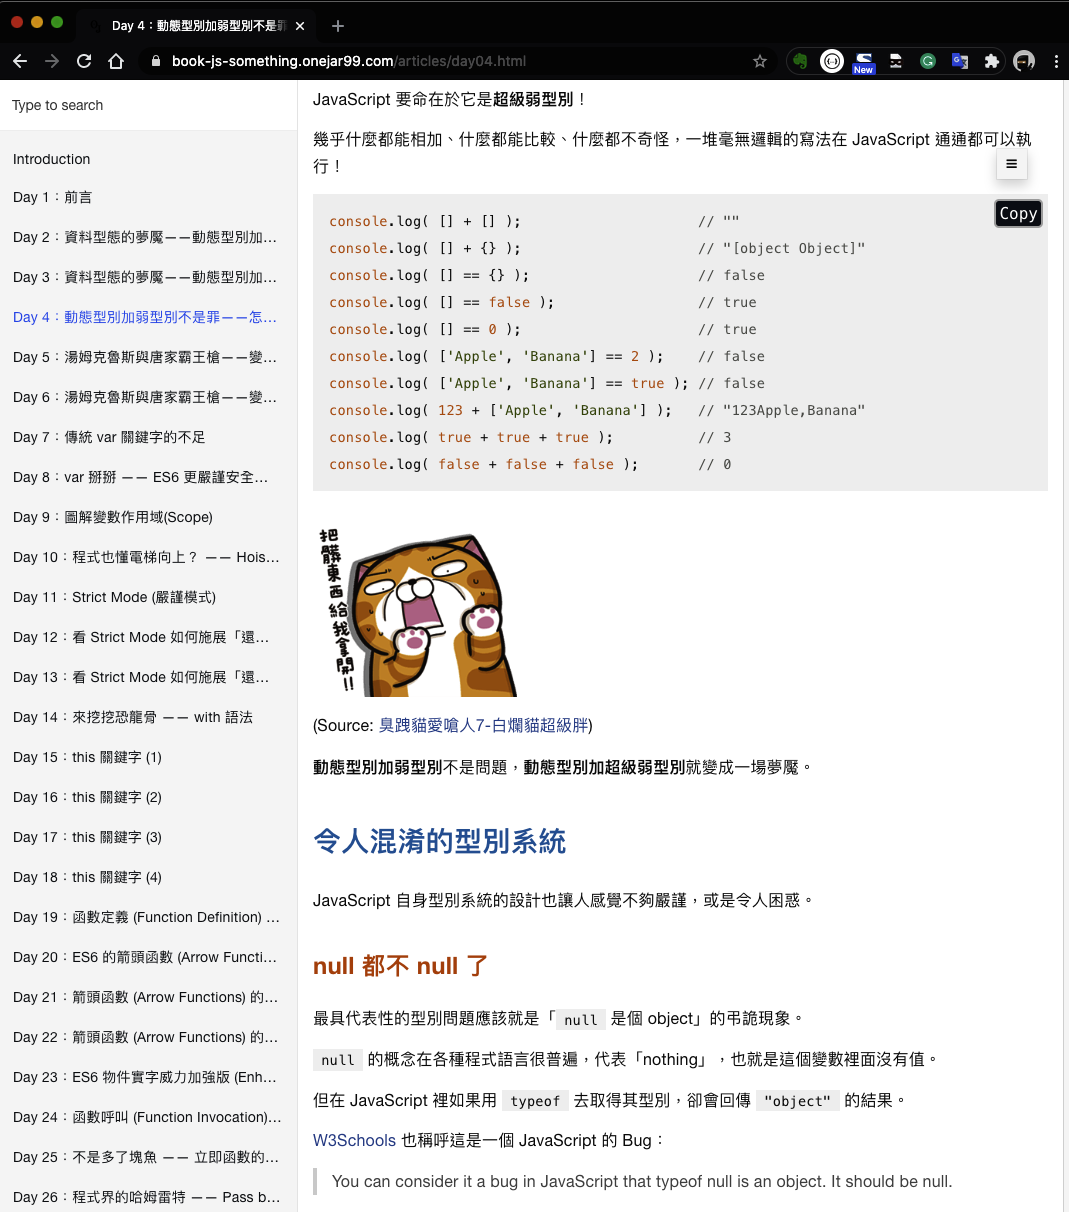
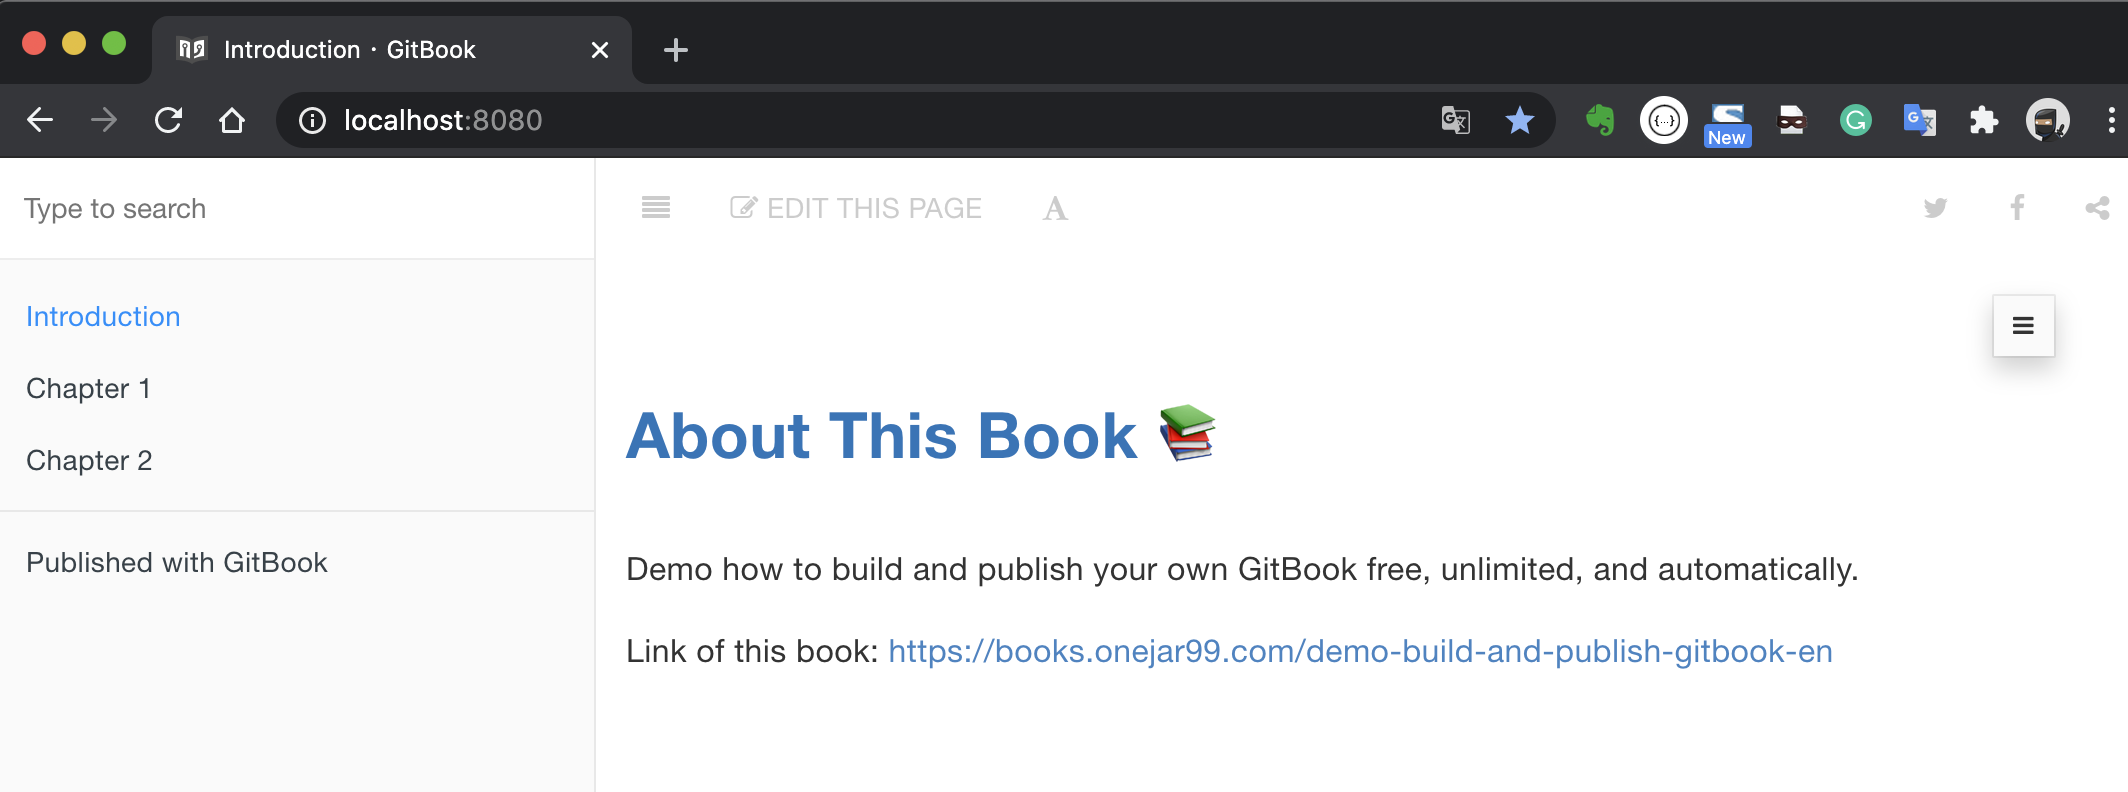
And then, I found GitHub related services and tools can address my requirements. The below image is an example of the final result. It has basic reading functions, such as TOC, syntax highlight of code blocks, good typesetting to read. It’s enough for me.
In this article, I will show you how to build and publish your own GitBook.
傳送門 (Table of Contents)
Conditions of an ideal solution
In fact, solutions to replace GitBook V2 are not rare. Although GitBook V2 official announce they no longer develop gitbook CLI tools, you still can download the tools and use them to build static GitBook sites from your markdown files.
The point is a suitable space to host the GitBook sites.
A solution consists of GitBook CLI, GitHub Pages, and GitHub Actions can meet the following:
- Free and unlimited books (repositories).
- Free for hosted.
- Support published automatically after revising.
- Support custom domain.
How to build and publish a GitBook automatically
Let’s hands-on to build your own GitBook.
Prerequisites
- Register a GitHub account.
- Most basic knowledge of git operations, such as
git add,git commit,git push.
All files involved in the following demo have been placed on GitHub.
Step 1. Write the book
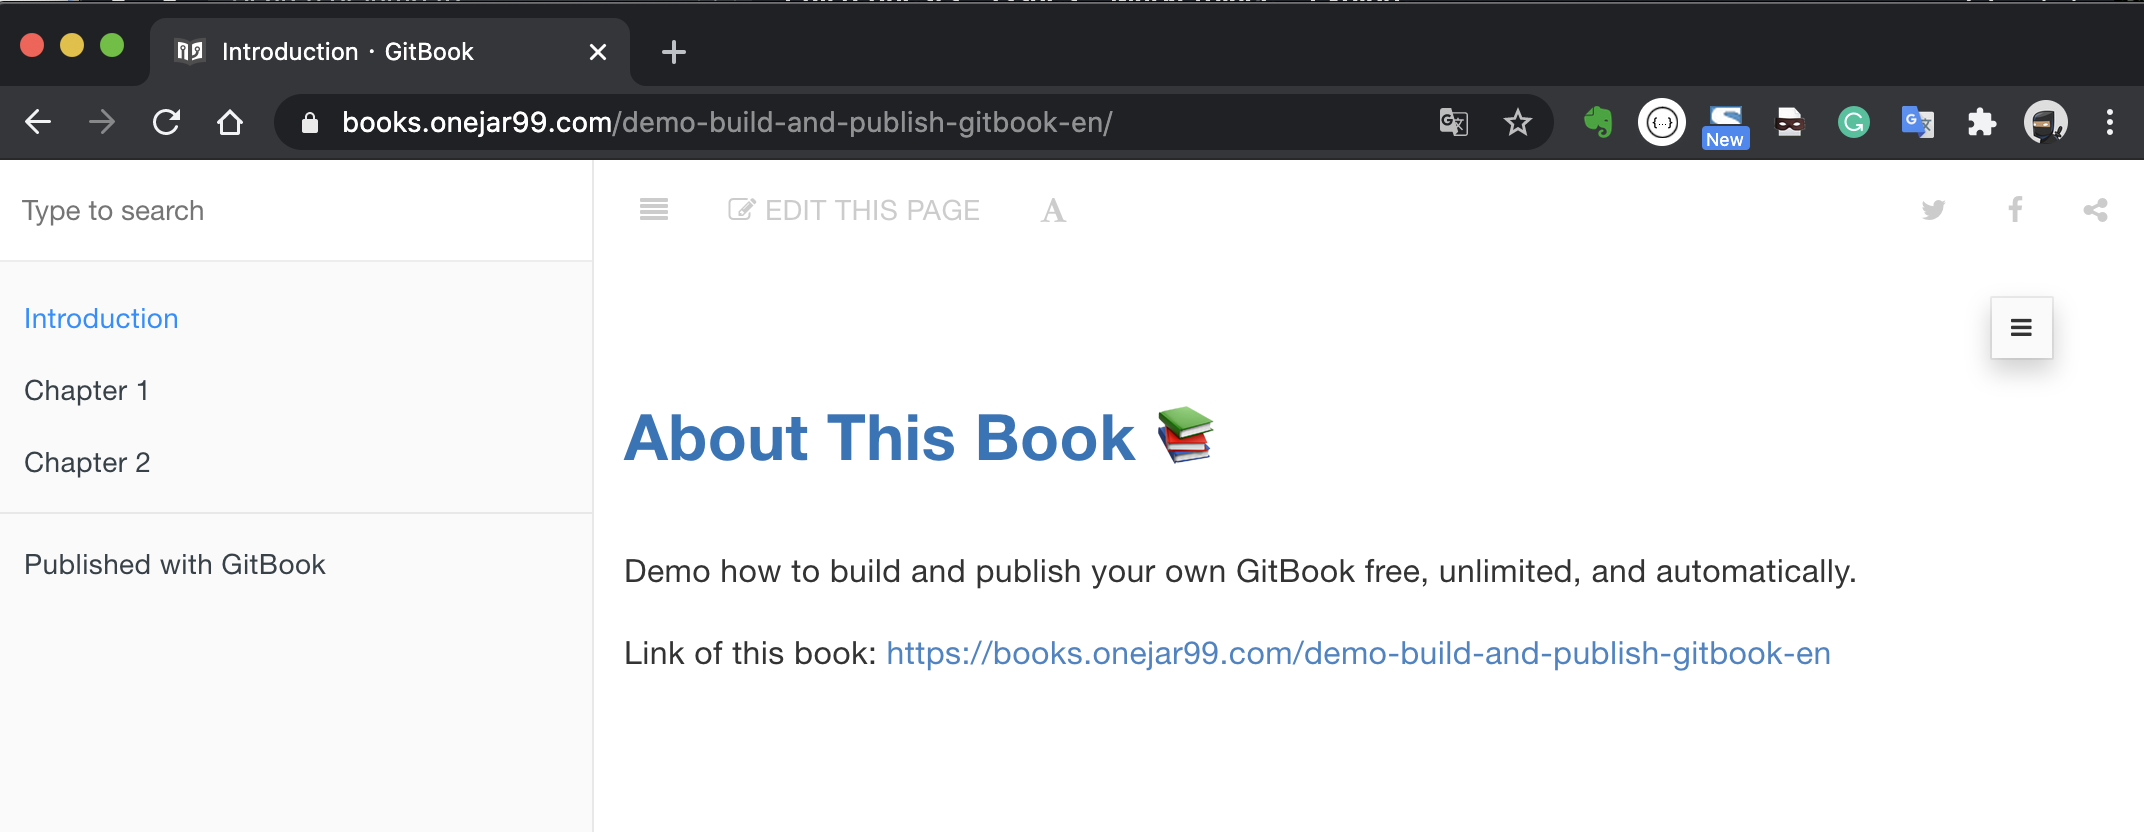
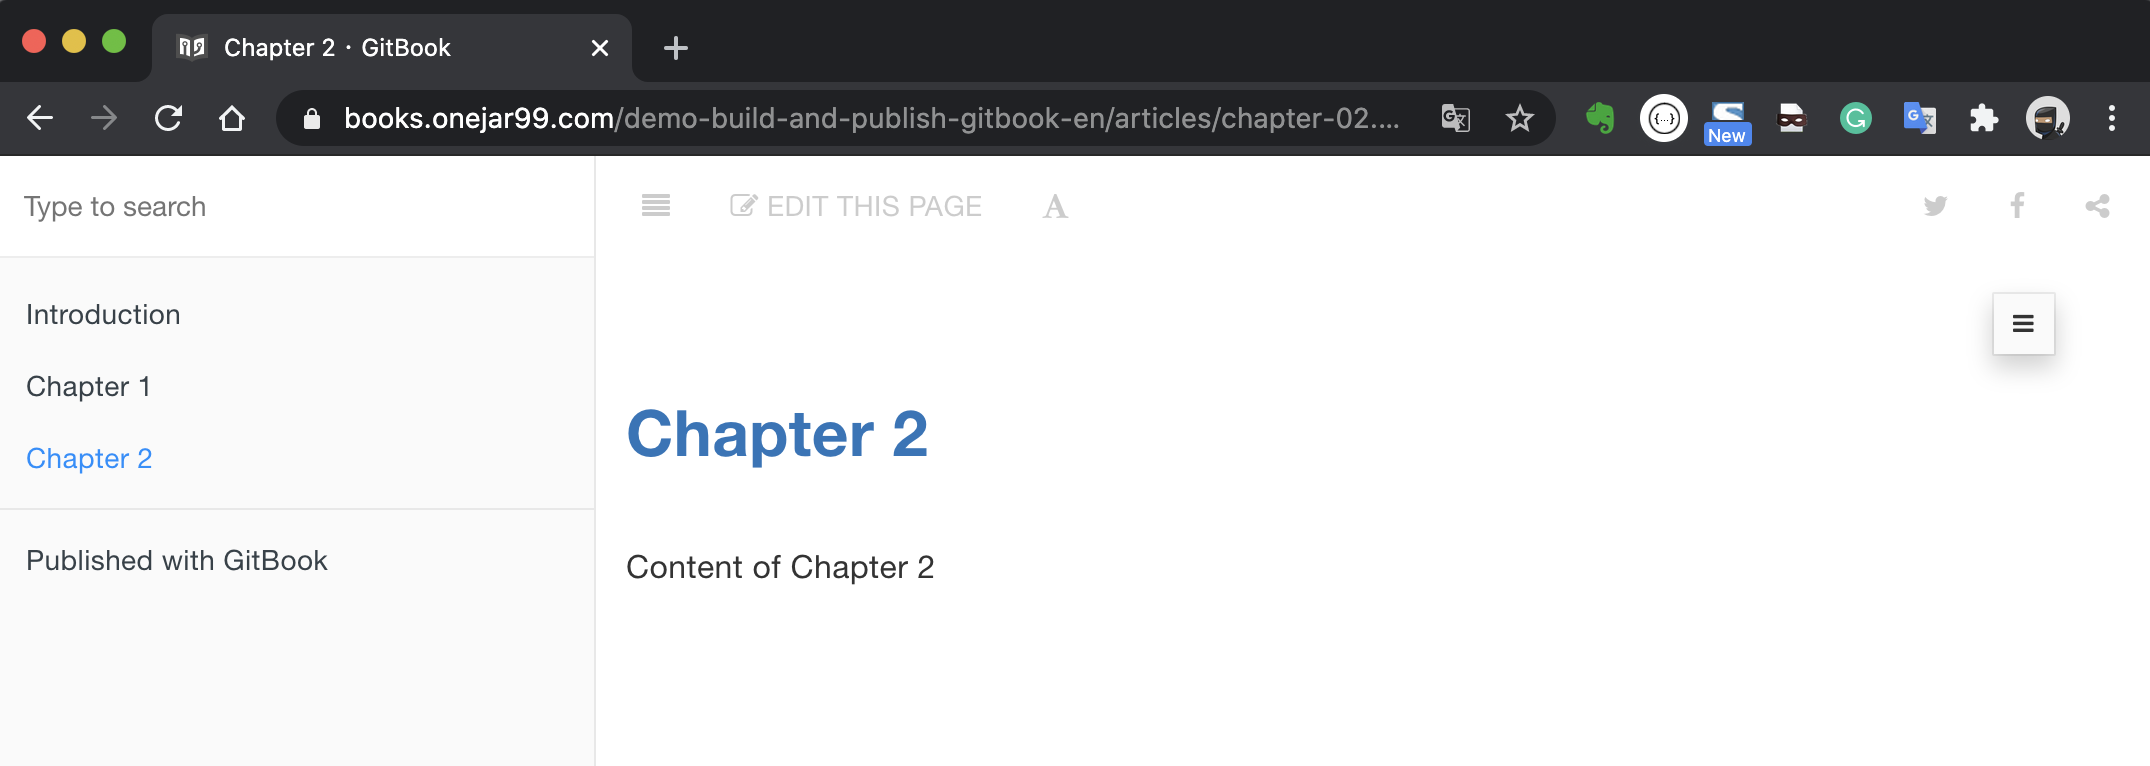
Here we will use a simple example as the content of the book. We will build a book including an Introduction page and 2 chapters as shown:
Create a directory named demo-build-and-publish-gitbook-en and add some files into it. Below file structure is recommended:
$ tree demo-build-and-publish-gitbook-en
demo-build-and-publish-gitbook-en
└── book_sources
    ├── README.md
    ├── SUMMARY.md
    └── articles
        ├── chapter-01.md
        └── chapter-02.md
Points:
- Note! Create a folder named
book_sourcesand put all files related gitbook into it. README.mdis required, it will become the Introduction page.SUMMARY.mdis required, it will become the catalog on the left side of GitBook.- Not required but recommended, create a folder named
articlesand collect articles of the book into the folder. Keep the file structure easily maintained.
Step 2. Add book.json
book.json is the required configuration file during building GitBook. Add it under book_sources folder:
$ vi book_sources/book.jsonIf you have no idea how to configure it, you can just copy the below template and paste it. The template is my favorite configuration including couple plugins:
- anchor-navigation-ex: provide features of TOC and go-to-top. I think this plugin is outstanding. If you interest in customized configuration, you can refer to the document of the plugin author.
- copy-code-button: Copy buttons will appear on the corner of each code block.
- edit-link: "EDIT THIS PAGE" links will appear on top of each page. After clicking them, the GitHub edit pages will be open.
- ga: Google Analytics. You can fill your trace code.
{
"plugins": [ "anchor-navigation-ex", "edit-link", "copy-code-button", "theme-comscore", "ga" ],
"pluginsConfig": {
"fontSettings": {
"theme": "night",
"family": "sans"
},
"theme-default": {
"showLevel": false
},
"anchor-navigation-ex": {
"showLevel": false,
"associatedWithSummary": false,
"printLog": false,
"multipleH1": false,
"mode": "float",
"showGoTop":true,
"float": {
"floatIcon": "fa fa-navicon",
"showLevelIcon": false,
"level1Icon": "fa fa-hand-o-right",
"level2Icon": "fa fa-hand-o-right",
"level3Icon": "fa fa-hand-o-right"
},
"pageTop": {
"showLevelIcon": false,
"level1Icon": "fa fa-hand-o-right",
"level2Icon": "fa fa-hand-o-right",
"level3Icon": "fa fa-hand-o-right"
}
},
"edit-link": {
"base": "https://github.com/<Your-GitHub-Account>/demo-build-and-publish-gitbook/edit/master/",
"label": "Edit This Page"
},
"ga": {
"token": ""
}
}
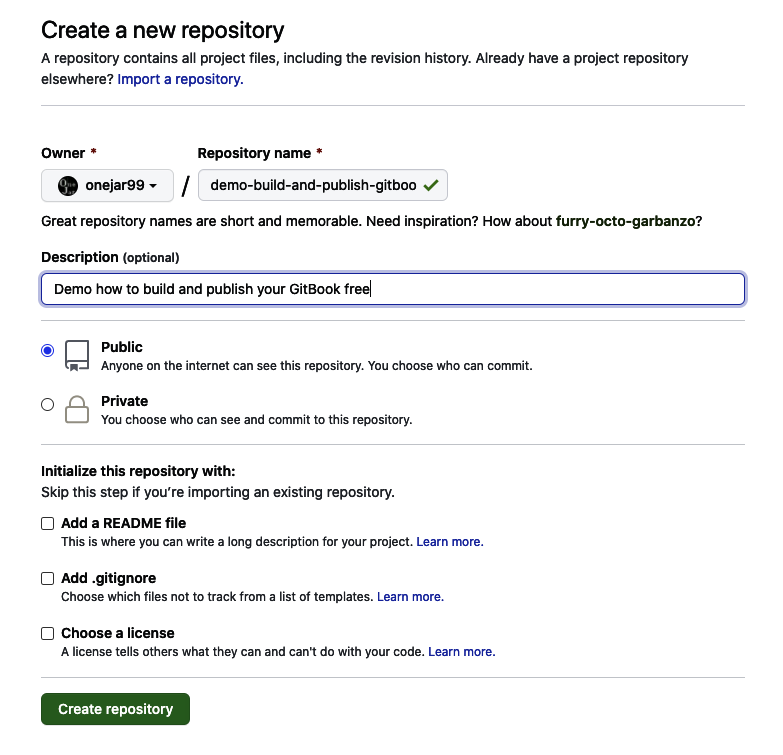
}Step 3. Create GitHub Repository and push files
Create a GitHub repository named demo-build-and-publish-gitbook-en:
Get back the local directory, execute below commands:
# Generate .gitignore and README.md of this repository
$ echo -e "_book\nnode_modules" > .gitignore
$ echo "# demo-build-and-publish-gitbook-en" >> README.md

# Push to GitHub
$ git init
$ git add .
$ git commit -m "first commit for book content"
$ git remote add origin [email protected]:onejar99/demo-build-and-publish-gitbook-en.git
$ git push -u origin master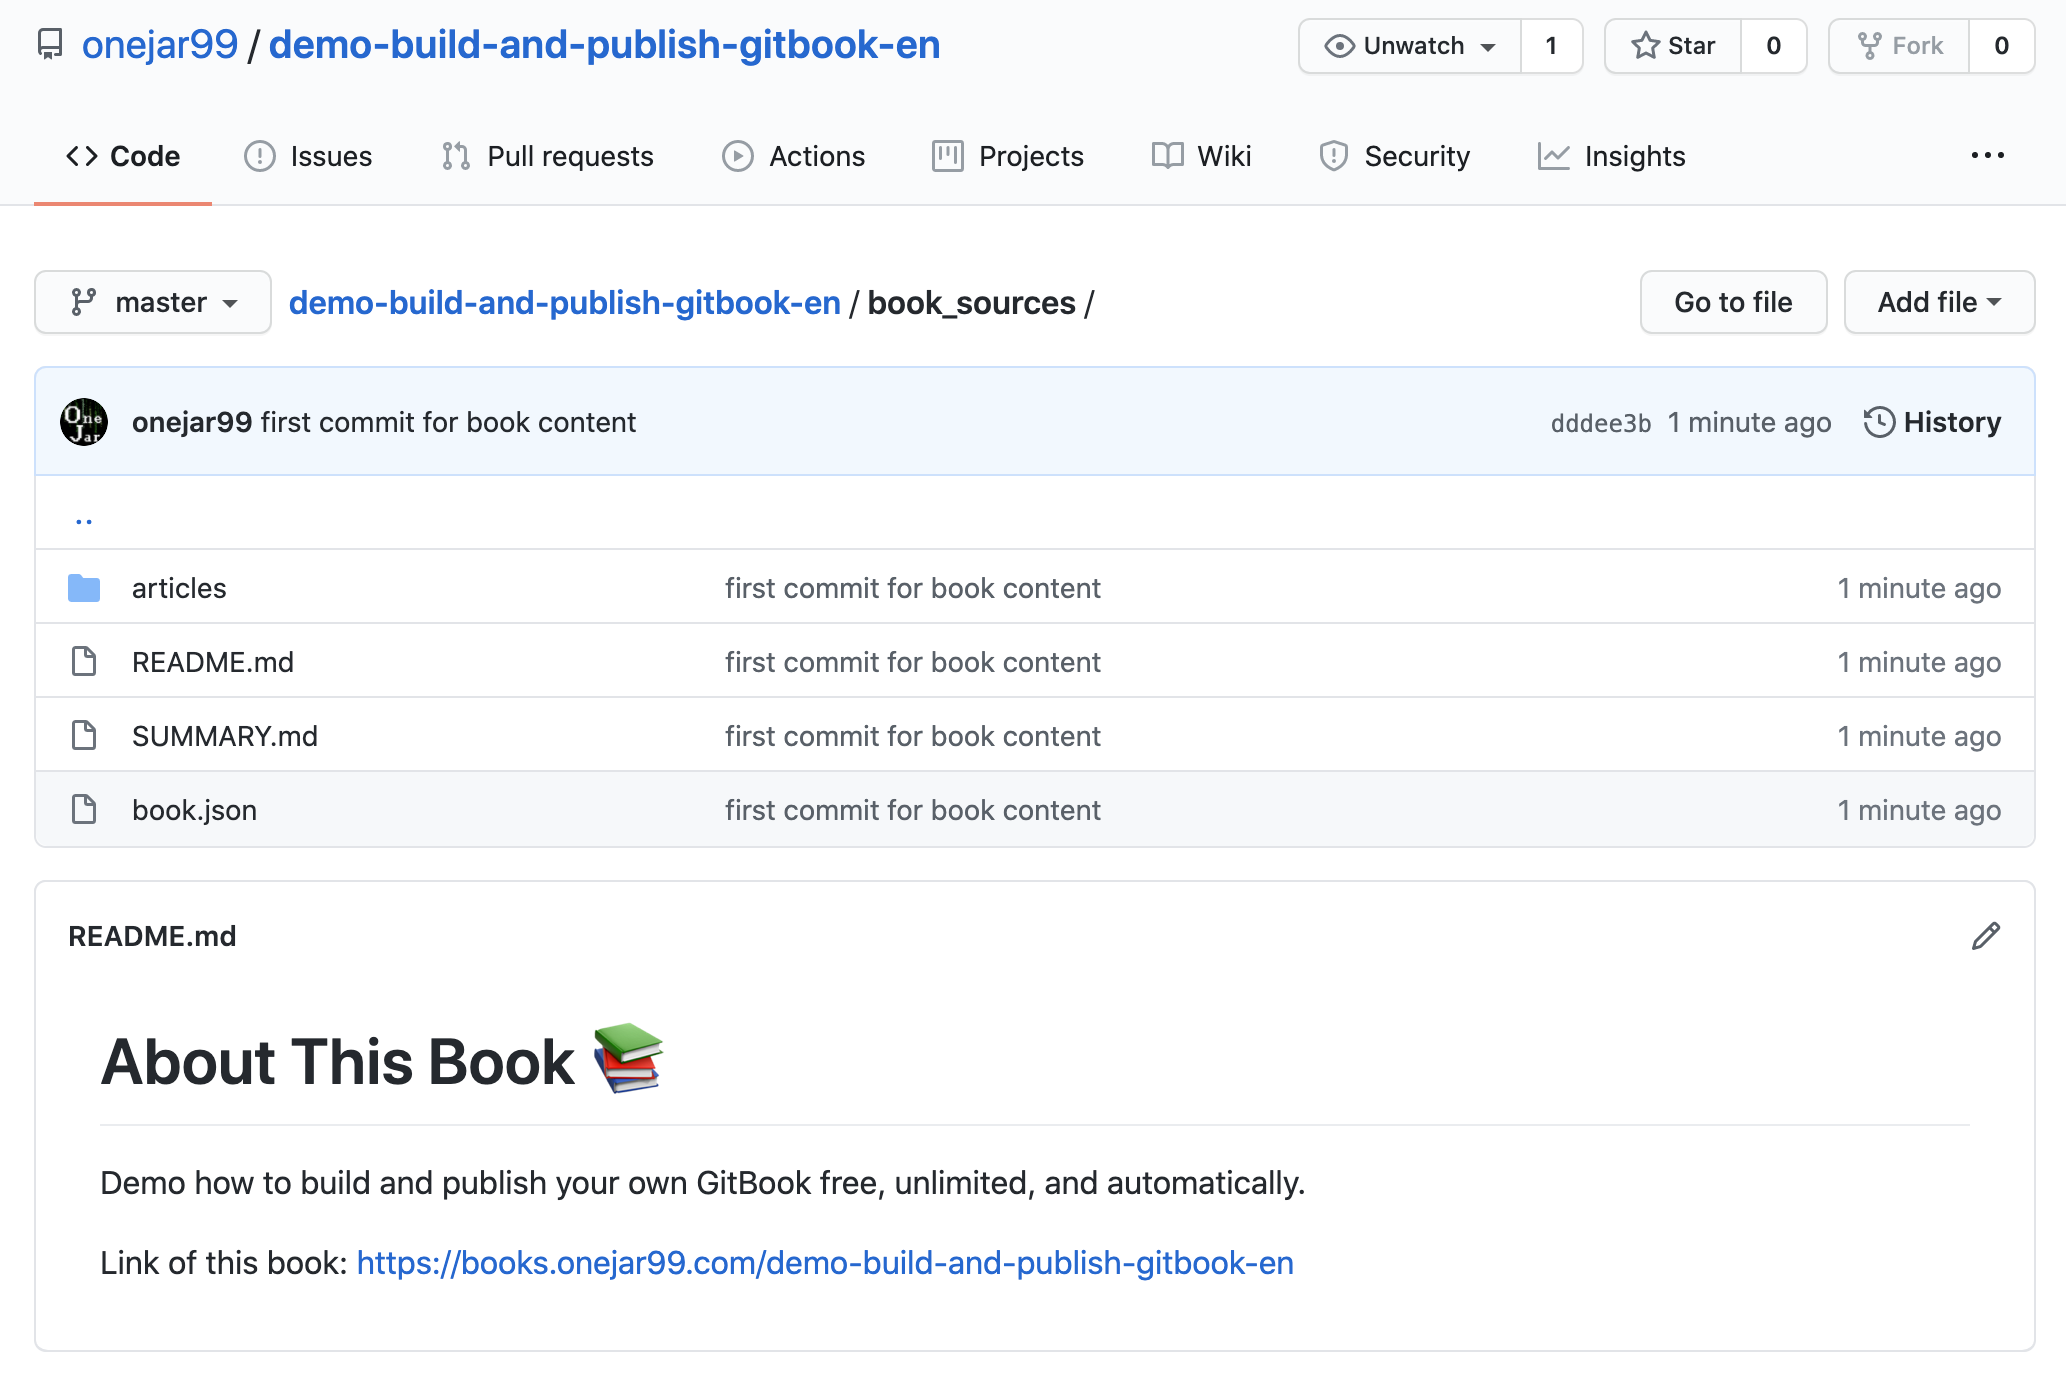
Step 4. Setup GitHub Access Token
We need to authorize GitHub to access our repository for publishing GitBook files to GitHub Pages. The method is to set up an access token.
Follow below steps to operate GitHub web:
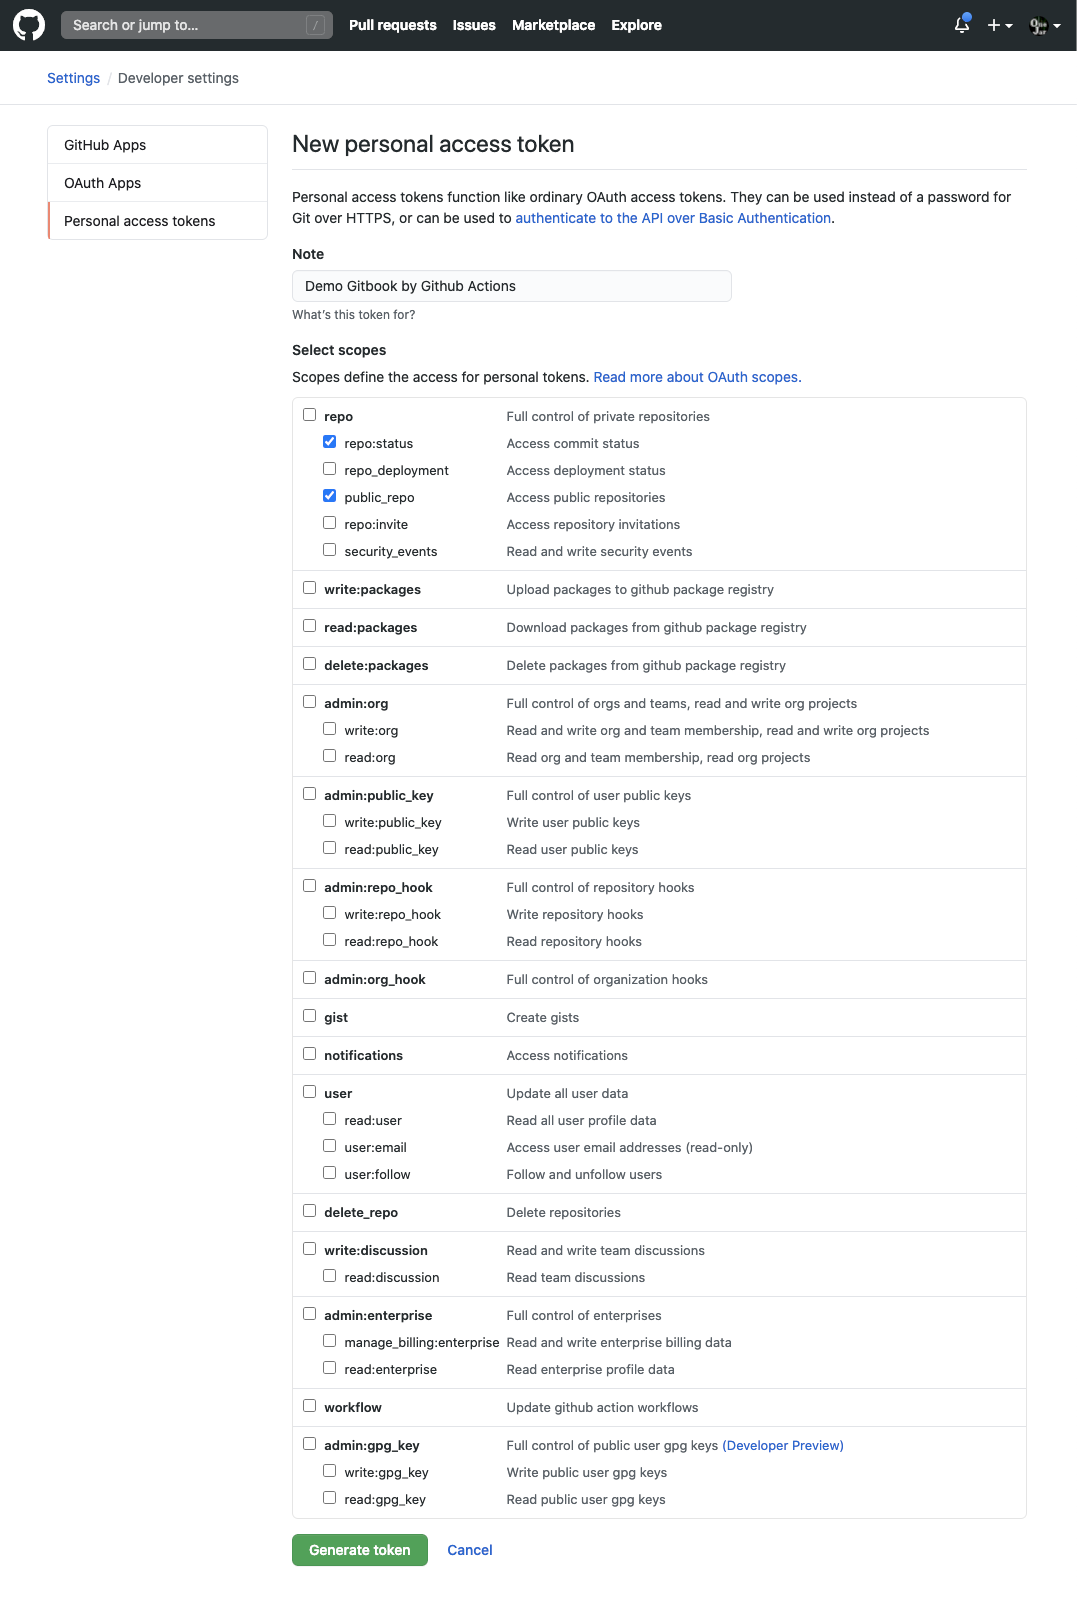
Generate a GitHub Personal Access Token
- Click the account icon on the right-top corner -> click "Settings" -> choose "Developer settings" on the bottom of the left list -> choose "Personal access tokens".
- Click "Generate new token" button.
- Input the description of the token, and check the checkboxes of
repo:statusandpublic_repo. - Click "Generate token" button on the bottom.
- A token will display on the page. Copy it. Note! The token value only displays once at this moment. If you forgot to copy it, you can not query the token value and can only generate a new one.
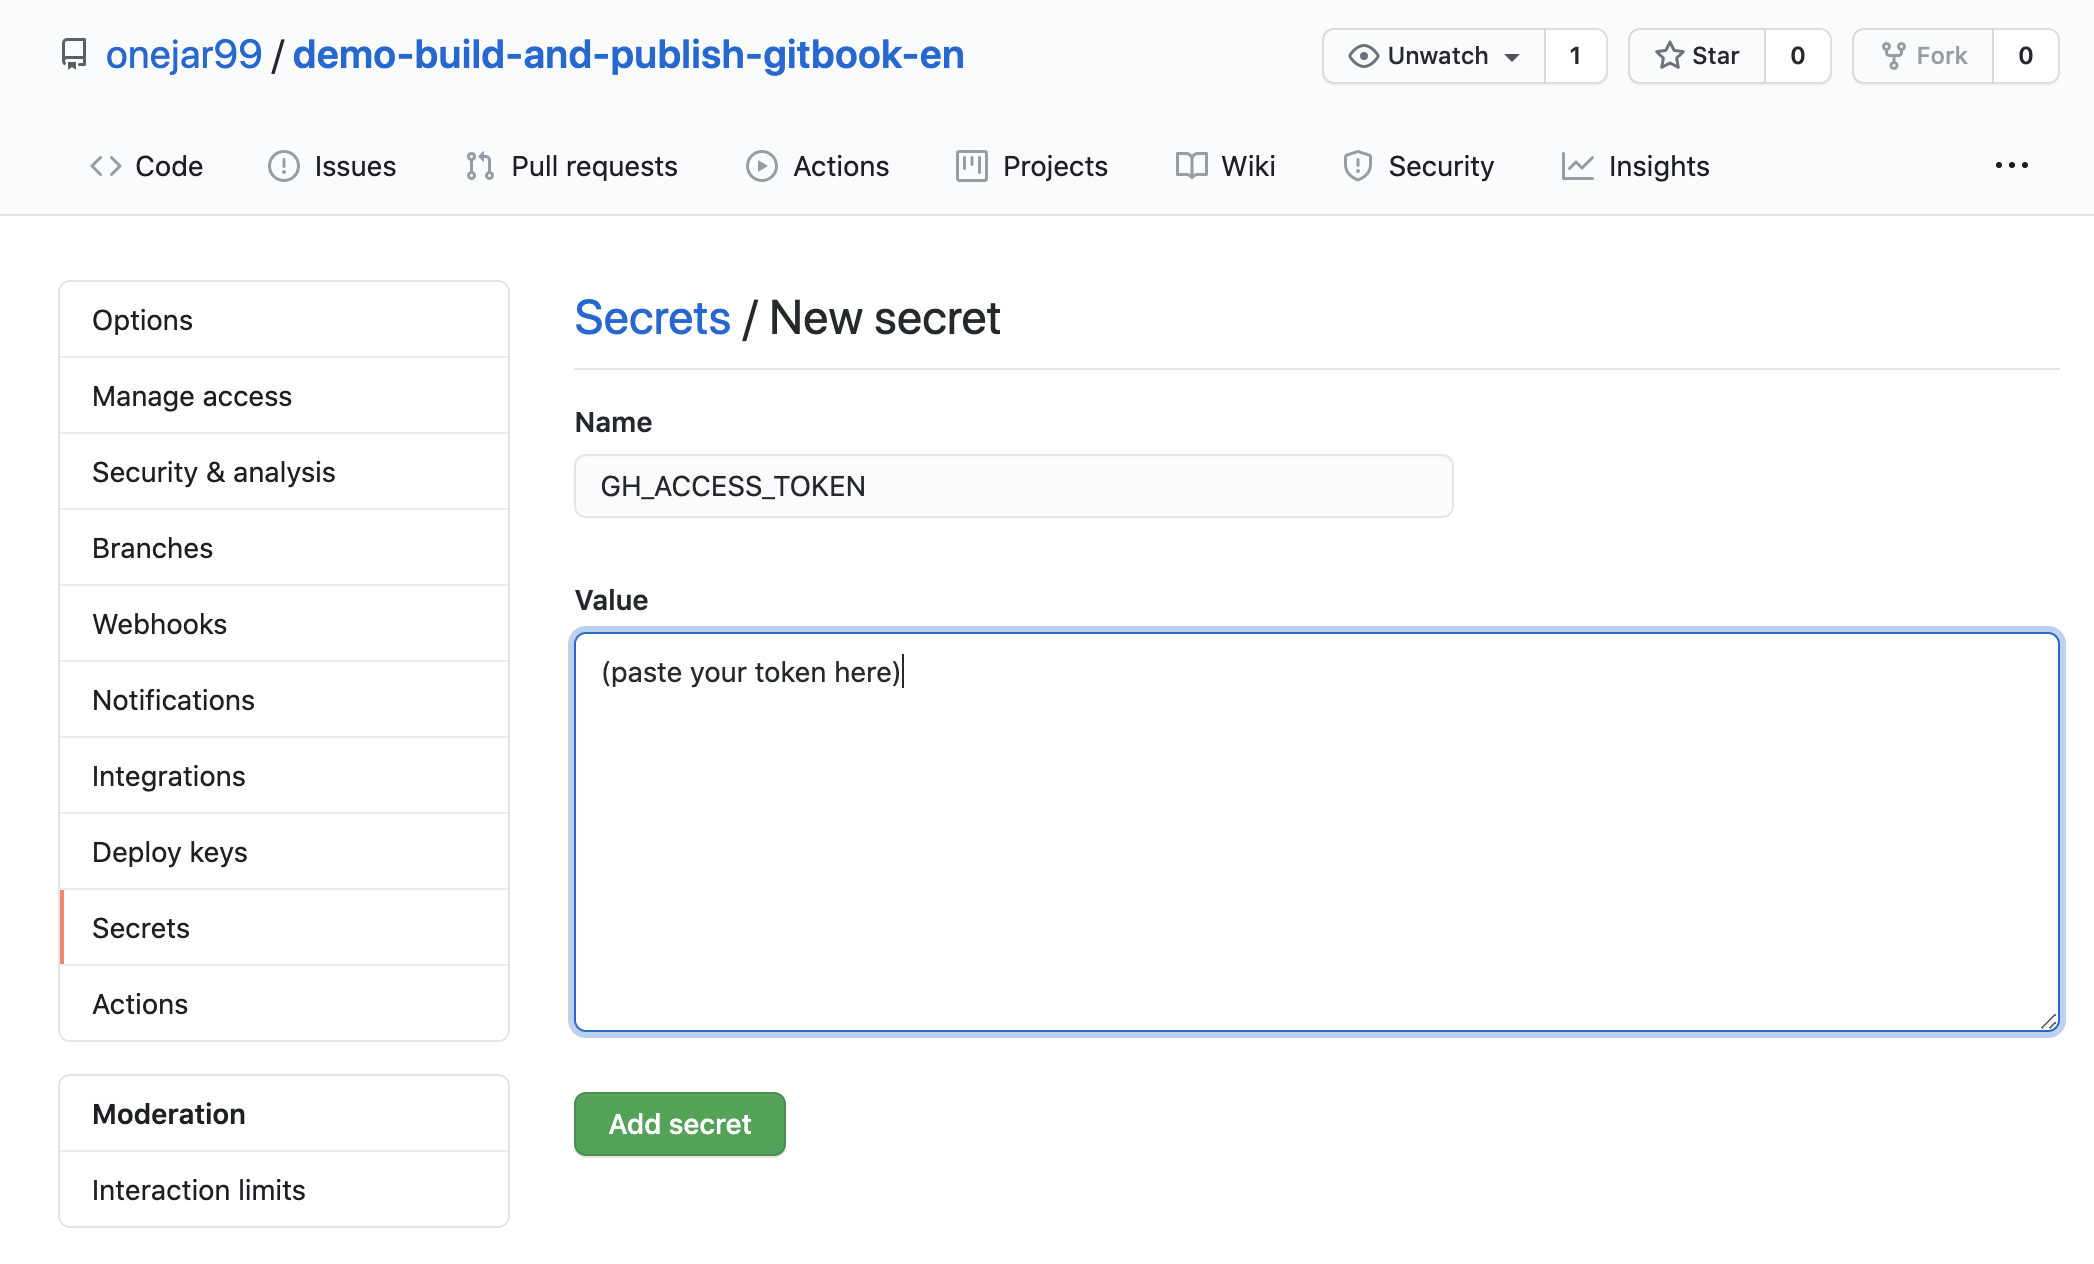
Go to the repository and set up the token as a secret
- Go to the repository -> click "Settings" tab -> choose "Secrets" on the left list -> click "New secret" button.
- Fill
GH_ACCESS_TOKENinto "Name" field and paste the token into "Value" field. - Click "Add secret" button and the token setup is finished.
Step 5. Add GitHub Actions Workflow
The last thing is to configure GitHub Actions to let it build and publish GitBook automatically.
Get back local directory, add a file .github/workflows/build.yml:
$ mkdir -p .github/workflows
$ vi .github/workflows/build.yml
If you have followed the file structure as mentioned above, you can just copy the template below with replacing USER_NAME and USER_EMAIL as your Git user name and email:
name: Build my gitbook and deploy to gh-pages

on:
  workflow_dispatch:
  push:
    branches:
      - master

jobs:
  build-and-deploy:
    name: Build and deploy
    runs-on: ubuntu-latest
    env:
      MY_SECRET   : ${{secrets.GH_ACCESS_TOKEN}}
      USER_NAME   : <your_user_name>
      USER_EMAIL  : <your_email>
      BOOK_DIR    : book_sources

    steps:
    - name: Checkout 🛎️
      uses: actions/[email protected]
    - name: Build and Deploy 🚀
      uses: onejar99/[email protected]
This is a configuration file of GitHub Actions, called a workflow. 2 GitHub actions used:
- checkout action: an official action to check out code.
- build-and-publish-gitbook action: my action prepared in advance, it is responsible to build GitBook static site files and commit them to
gh-pagesbranch.
Step 6. Push workflow file and trigger GitHub Actions automatically
Commit and push the workflow file:
$ git add .github/workflows/build.yml
$ git commit -m "add workflow file"
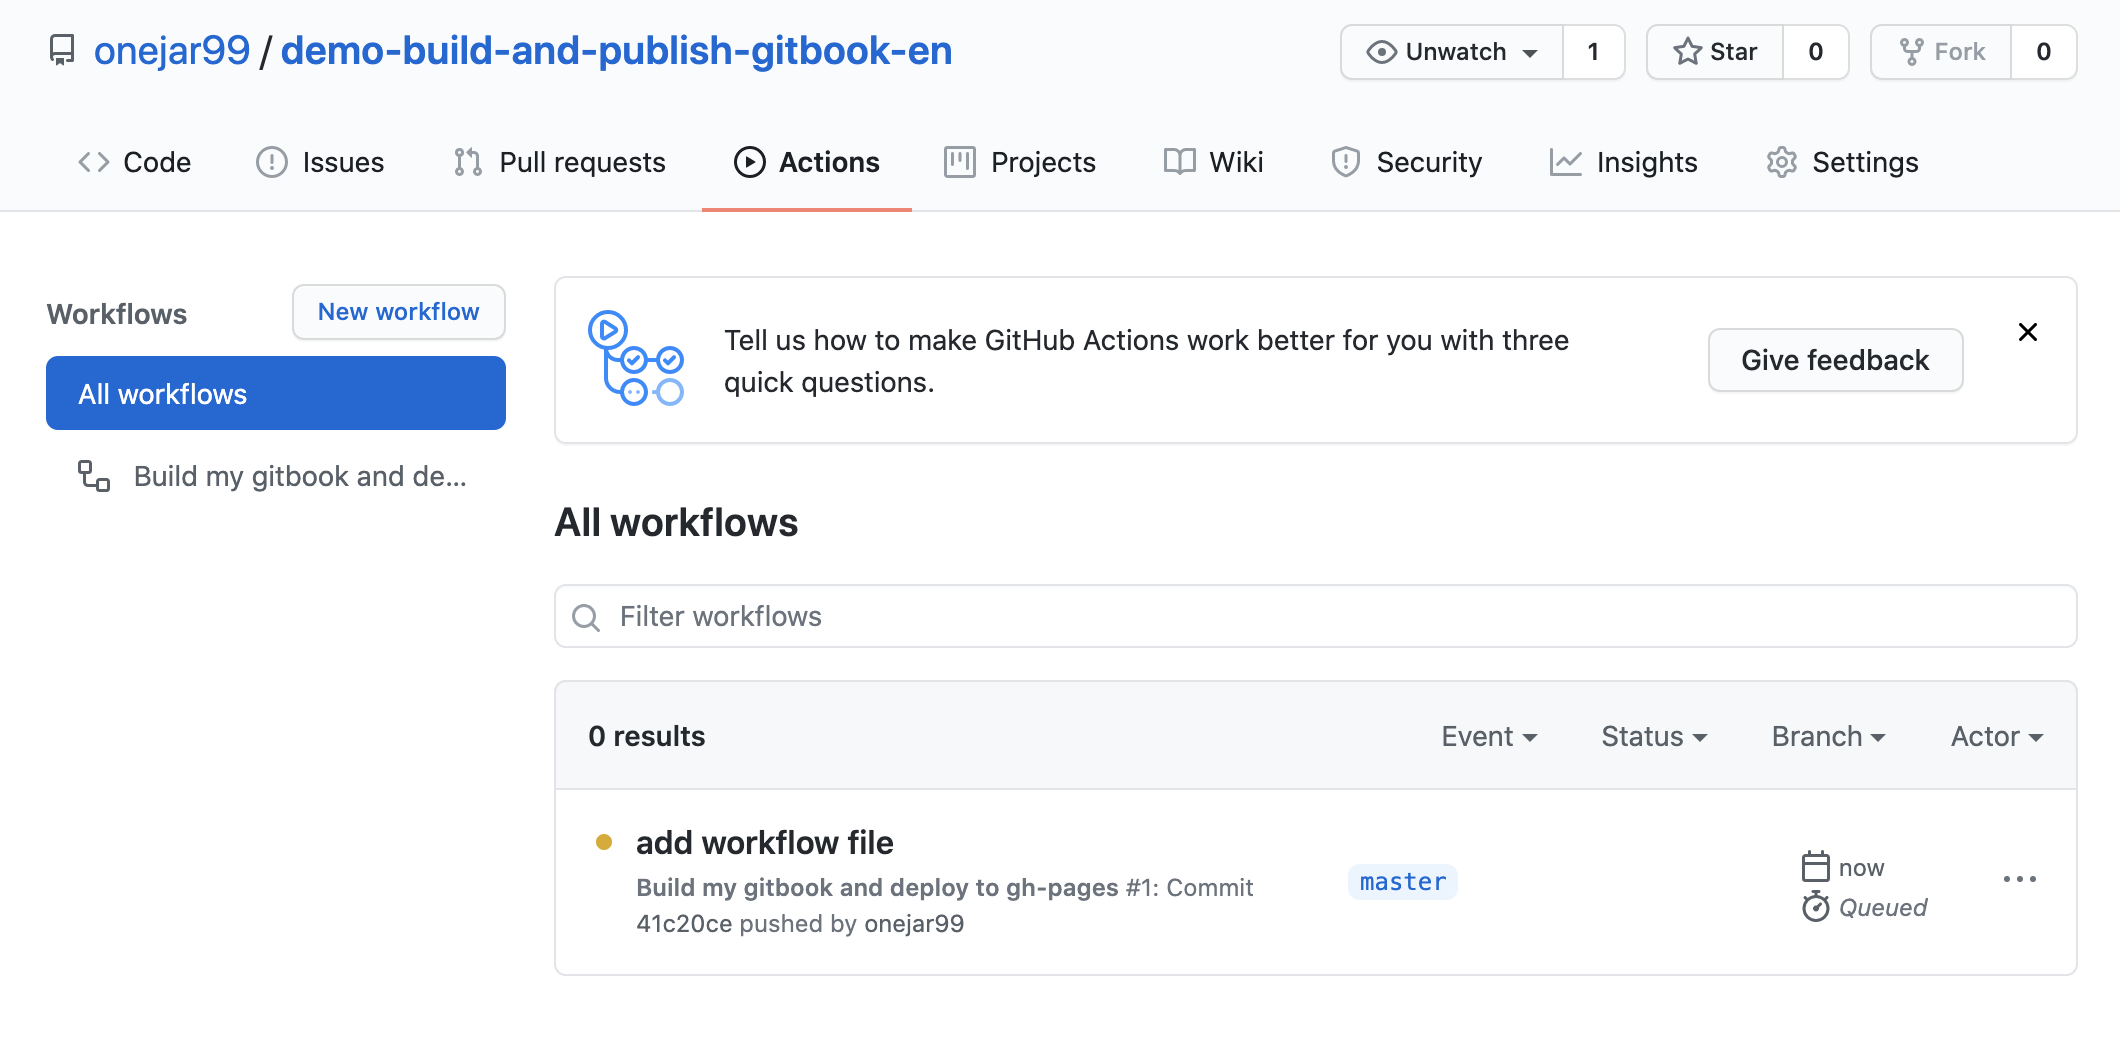
$ git pushGo to GitHub web of the repository, click the "Actions" tab, and you will see a workflow task is triggered:
After the task done, you will find the gh-pages branch is created and some files have committed automatically.
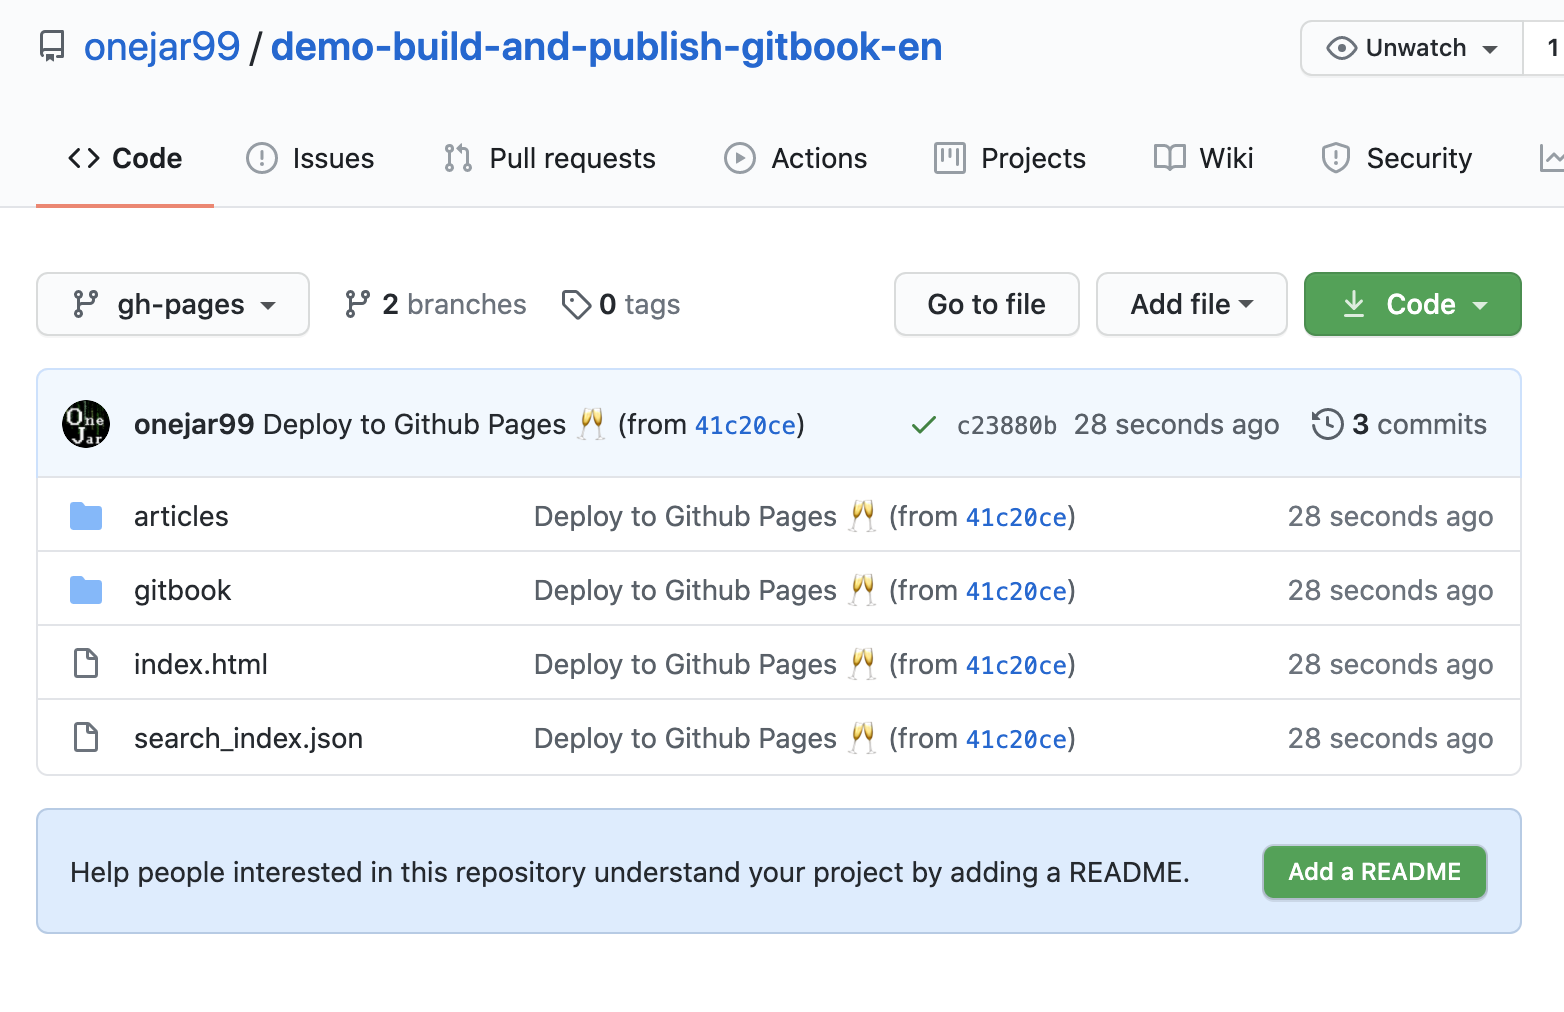
Let’s check the GitHub Pages.
The GitHub Page link will be like https://onejar99.github.io/demo-build-and-publish-gitbook-en (because I have setup custom domain, GitHub will redirect to https://books.onejar99.com/demo-build-and-publish-gitbook-en):
Awesome!
Updated and published automatically if you revise the book
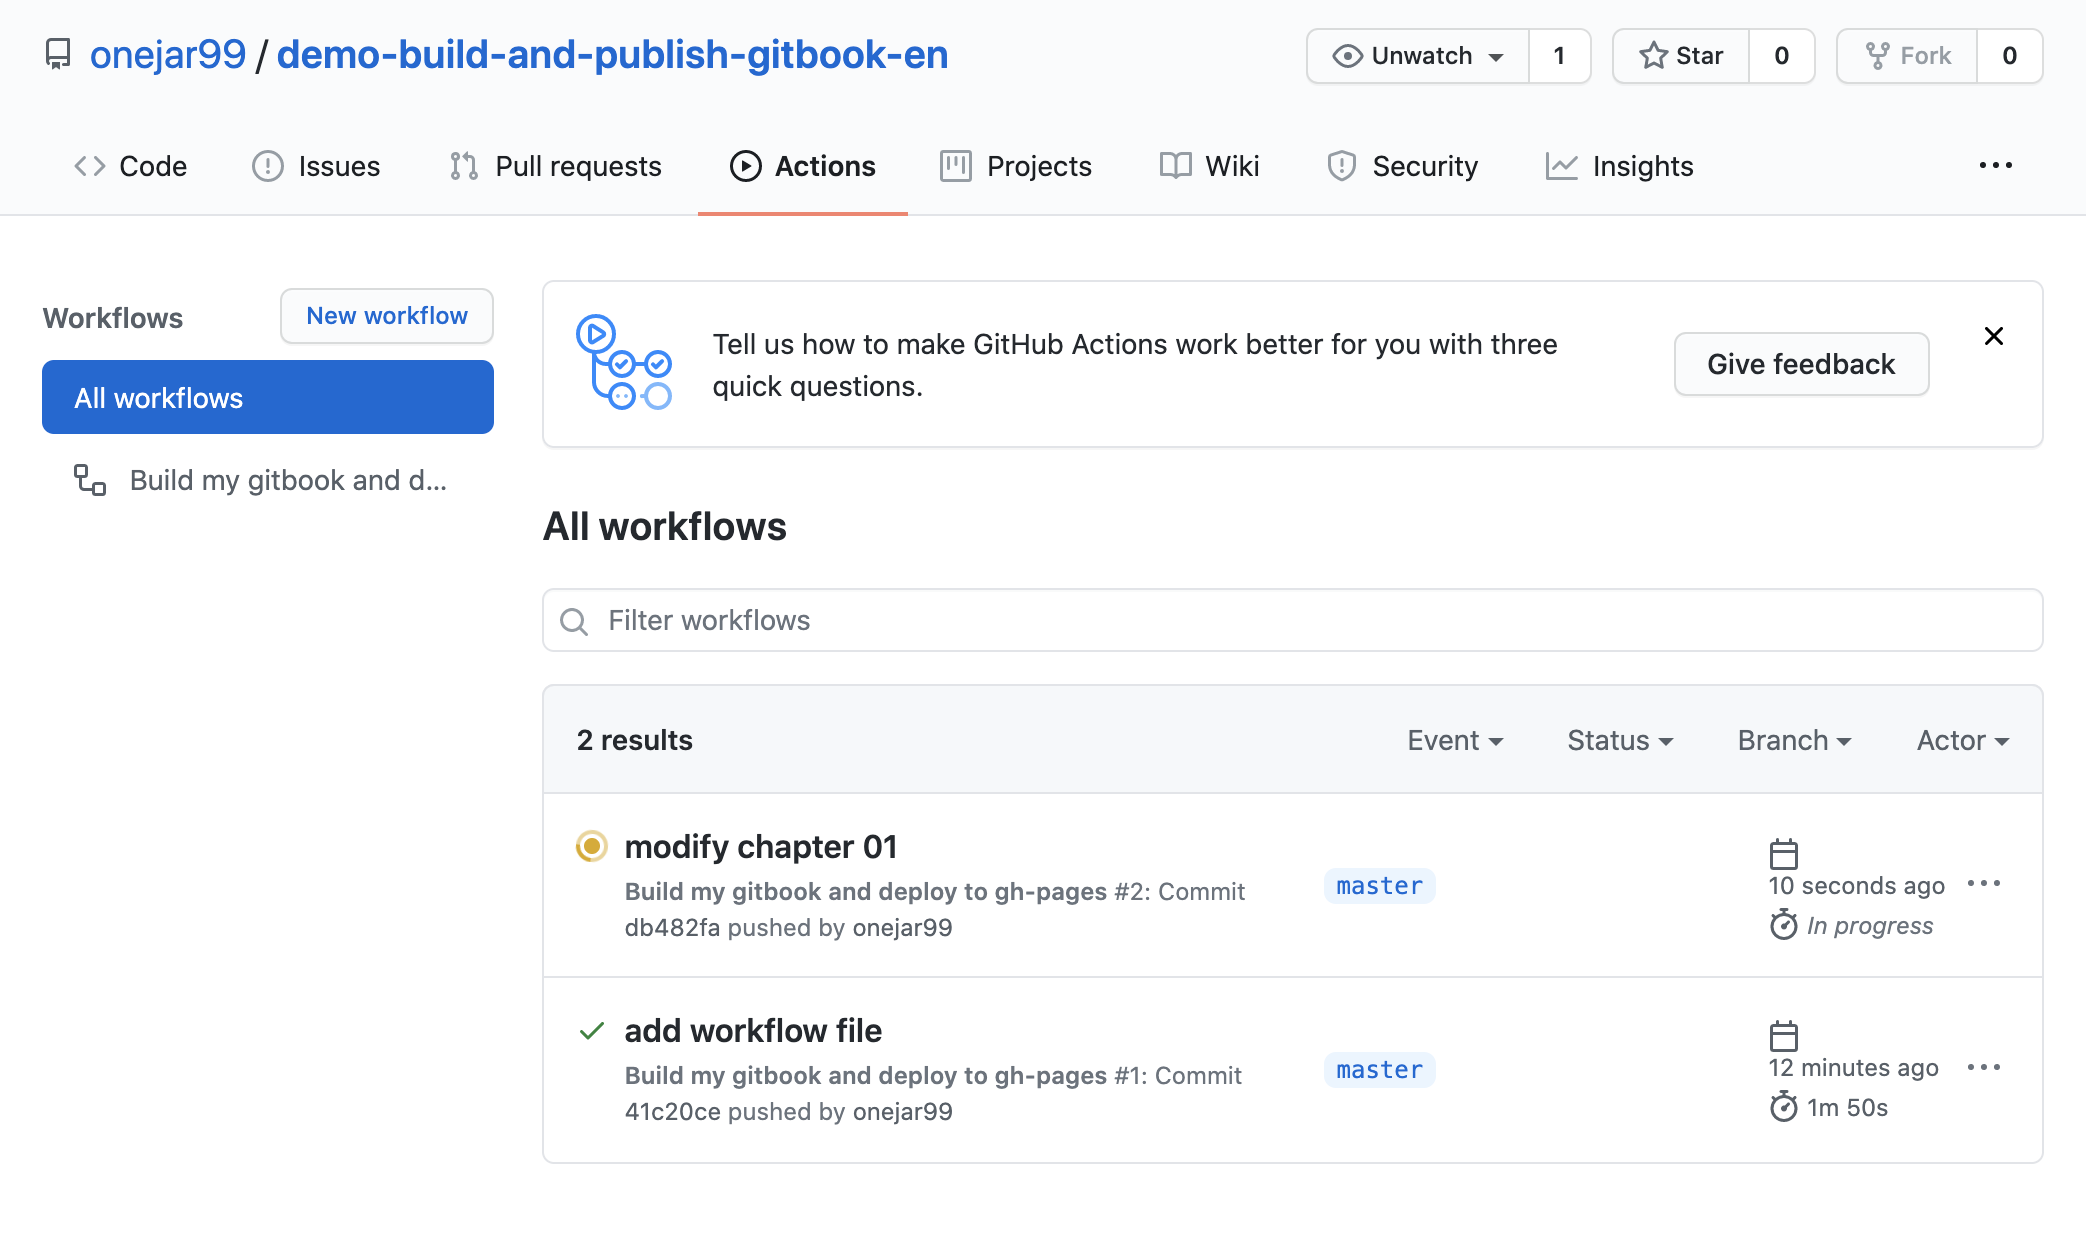
For example, we revised the content of chapter 1 and push the change:
$ vi book_sources/articles/chapter-01.md
$ git add -u .
$ git commit -m "modify chapter 01"
$ git push
You can observe that the GitHub Actions workflow task is triggered automatically:
After the task done, wait a few minutes, and refresh the GitHub Pages to browse the revised content.
Appendix: Preview GitBook at local
Perhaps you want to preview the GitBook before pushing onto GitHub. 2 docker images I made in advance are available, on the premise that you installed Docker at local.
Execute commands below:
$ cd demo-build-and-publish-gitbook-en/book_sources/
$ docker run --rm -p 4000:4000 -v $(pwd):/gitbook onejar99/gitbook:light "gitbook init && gitbook install && gitbook build"
$ docker run --rm -p 8080:8080 -v $(pwd)/_book:/home/app/public onejar99/nodejs-live-server:node12.16.1
And visit http://localhost:8080 via a browser:
Conclusion
The operations introduced in this articles can help you to build and publish GitBook easily.
The pattern also can apply to other static site generators, such as VuePress.
All files involved in the demo have been placed on GitHub. If you have issues during the operations, welcome to add a comment on the bottom or create an issue to GitHub repository.
2022/01/16 updated: v1.0.2 for fixing dependecies issue of anchor-navigation-ex
If you followed this article’s guide to build your books, you might find it did not work recently. The cause was that a dependency of gitbook plugin anchor-navigation-ex has new versions and they weren’t compatible with lastest anchor-navigation-ex.
The solution is to use onejar99/[email protected].