Last Updated on 2022-01-29 by OneJar
2022/01/29 updated: 最近 macOS 更新到 Monterey 12.1,再次出現一樣的問題,依本篇「解決方法 2」步驟仍有效 (目前 VirtualBox 最新版本是 6.1.32,149290)。
最近更新 macOS 到 Big Sur 11.4,發生 VirtualBox 無法正常使用的問題。
我的 VirtualBox 版本已經是當下最新版 6.1.22-144080,更新前一天 VM 還正常運作,睡前放下去更新 macOS,隔天想再啟動同一個 VM 就出現以下錯誤:
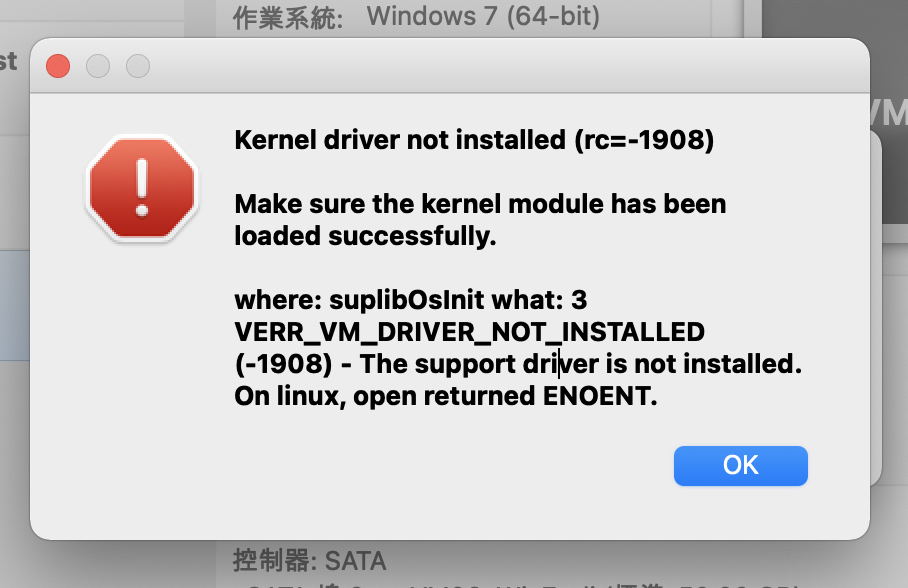
Kernel driver not installed (rc=-1908)

Make sure the kernel module has been loaded successfully.

where: suplibOsInit what: 3 VERR_VM_DRIVER_NOT_INSTALLED (-1908) - The support driver is not installed. On linux, open returned ENOENT.
google 後得知這個問題是因為 macOS 基於安全性因素,阻擋了第三方的 kernel extensions(KEXTs),解決方法基本上就是對 應用程式進行授權。
網路上找到幾種不同的操作方式,大部分看到的解法都是透過 dmg 重新安裝 VirtualBox,在過程到 System Preferences → Security & Privacy → General 進行授權。但由於我偏好用 homebrew 管理套件,還是希望找到不透過 dmg 安裝也能動的方法。
以下整理幾個網路上看到的作法,並根據我實際操作成功的經驗建議嘗試順序,原則上越前面的方法越簡單。
傳送門 (Table of Contents)
解決方法 1:重新開機
對,就是重新開機這麼簡單。
macOS 更新本來就會自動重開機一次,通常大家看沒問題就會開始用,尤其像我的 Mac 平常沒什麼在關機,幾乎也很少重新啟動。
但以我目前的經驗,macOS 剛更新完第一次自動 reboot 後都會有點小毛病,感覺有些設定還沒有完全到位。建議這時候自己手動再重新啟動一次,很多問題可能就不見。
解決方法 2:重新安裝 VirtualBox + 重新開機
我自己是靠這個方法解決。因為我在重新安裝 VirtualBox 前沒想到先 reboot 試試看,因此無法確定究竟是由於「重新安裝 VirtualBox + reboot」這個組合奏效,還是其實單純 reboot 就能奏效。總之,如果你嘗試解決方法 1 無效,就繼續試試看方法 2。
這裡根據你的安裝習慣,有透過 homebrew 和透過 dmg 兩種作法。
透過 homebrew 重新安裝 VirtualBox
透過以下指令進行重新安裝,安裝完後重新啟動 macOS:
$ brew info virtualbox         # 檢查 virtualbox 版本或安裝狀態
$ brew uninstall virtualbox  # 移除 virtualbox
$ brew install virtualbox      # 安裝 virtualbox
2022/01/29 updated: 安裝完 VirtualBox 後,macOS 應該會提示要允許權限,到 macOS 上面選單的
System Preferences(系統偏好) → Security & Privacy(安全性與隱私) → General(一般),對開發者 「Oracle America, Inc.」 點「Allow」即可。
補充一提,在 brew uninstall virtualbox 時有可能一直卡在下面的地方,說會跳出提示要求你輸入密碼,但又一直看不到要求你輸入密碼的 prompt:
The uninstallation processes requires administrative privileges
because some of the installed files cannot be removed by a normal
user. You may be prompted for your password now...
解決方法是先取消指令,隨便打 sudo ls 輸入一次密碼,再執行 brew uninstall virtualbox 即可。
(brew 指令本身不允許用 sudo,因為太危險)
透過 dmg 重新安裝 VirtualBox
網路上看到的教學大部分是這個方法。步驟簡單來說:
- Step 1: 到 VirtualBox 官網 下載最新版安裝程式 dmg 檔。
- Step 2: 執行 dmg 檔,先執行
VirtualBox_Uninstall.tool移除原本的 VirtualBox。 - Step 3: 執行
VirtualBox.pkg重新安裝。 - Step 4: 到 macOS 上面選單的
System Preferences(系統偏好) → Security & Privacy(安全性與隱私) → General(一般),對開發者 Oracle 進行授權。 - Step 5: 重新啟動 macOS。
相關畫面截圖示意可以參考以下文章,這裡就不贅述:
- MacOS Big Sur 上 VirtualBox 运行虚拟机报 Kernel driver not installed (rc=1908)_u011700186的博客-CSDN博客
- How to Fix VirtualBox’s “Kernel Driver Not Installed (rc=-1908)” Error on a Mac
解決方法 3:透過 macOS 復原模式(recovery mode)操作
萬一以上方法都還無法解決,可以試試看下面兩篇文章,都是透過 macOS 復原模式操作:
References
- VirtualBox 在 macOS 出現 Kernel driver not installed 問題解決方式 – Office 指南
- MacOS Big Sur 使用VirtualBox报错kernel driver not installed (rc=-1908) mac big sur方法 – doc/文档 – vpslala.com
- How to Fix VirtualBox’s “Kernel Driver Not Installed (rc=-1908)” Error on a Mac
- MacOS Big Sur 上 VirtualBox 运行虚拟机报 Kernel driver not installed (rc=1908)_u011700186的博客-CSDN博客